
What is the best 33 Immortals build?
There is no single best build for every 33 Immortals run. The better starting point is to name the failure you want to prevent: dying while greedy, missing boss punish windows, losing control of crowded rooms, or arriving without enough team utility. Then select a weapon and upgrade path that makes your normal decisions easier.
Use this page as the overview. The weapons guide covers the wider roster and upgrade boundaries, while the Staff of Sloth and Hooks of Gluttony pages go deeper into two specific weapon plans. Exact numbers and live tooltips can change, so treat the current in-game description as the final authority.
New players should begin with a forgiving control or survival path. Experienced players can move toward ranged burst, dagger pressure or a boss-specific damage plan once they know which actions they can repeat safely.
Four useful build paths
A build is more than a weapon name. It is the loop you repeat under pressure: how you enter a room, what you upgrade first, when you spend a relic effect, and how your role helps the group. These paths are deliberately broad so they remain useful when balance or unlock details change.
Do not copy every perk from a community list without checking the trigger. A perk that looks powerful but rarely activates is weaker for your actual run than a modest upgrade that improves every encounter.
SURVIVAL
Safe control build
Choose a weapon that creates space or makes enemy pressure easier to read. Favor defensive, control or repeatable uptime effects, stay close enough to revive teammates, and treat damage as a result of safe positioning rather than the only goal.
RANGED
Mark-and-burst build
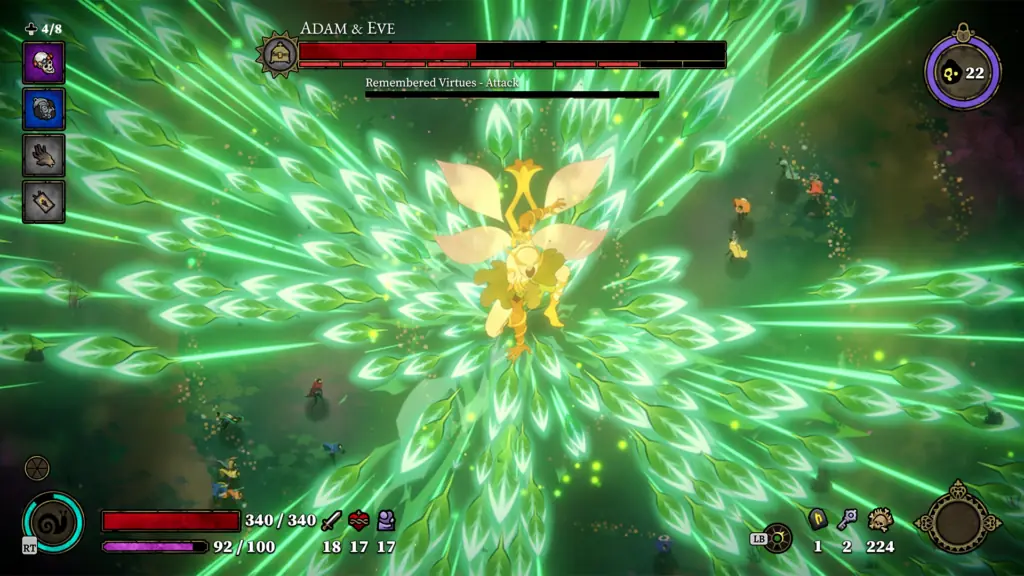
Ranged weapons such as Crossbows of Pride suit players who can keep a clean line, mark priority targets and leave danger before the room collapses. Pair accurate damage windows with relics that reward uptime, then avoid drifting so far away that team support disappears.
MELEE
Dagger pressure build
A dagger-focused plan is about short, repeatable entries rather than permanent aggression. Use movement and timing to take safe punish windows, keep a retreat route, and choose upgrades that make your preferred loop more consistent instead of chasing a theoretical maximum.
CONTROL
Objective control build
Staff of Sloth is a clear example of a control-first plan: create safer space, slow pressure, and keep the objective readable for everyone else. The value is not only personal damage; it is preventing the team from spending every cooldown on recovery.
Match the build to the problem
Use the matrix as a starting decision, not as a locked tier list. If your group already has a strong answer to one problem, choose the path that covers the next gap.
| Run problem | Starting path | Weapon direction | Relic direction | Team value |
|---|---|---|---|---|
| Dying before the boss | Survival / control | Forgiving range or space-making melee | Defence, recovery and repeatable uptime | Stay alive and create revive windows |
| Boss phases last too long | Burst | A weapon with reliable punish windows | Action or boost effects that reinforce burst timing | Save damage for the team window |
| Priority targets escape | Ranged | Crossbows or another accurate ranged option | Accuracy, mark, range or uptime support | Finish threats without breaking formation |
| Rooms become unreadable | Control | Staff, crowd control or safe spacing | Control, defence and objective uptime | Give the team room to act |
| Solo queue feels chaotic | Flexible support | A weapon you can use safely in mixed groups | Duo or utility choices with dependable triggers | Adapt, ping, revive and cover gaps |
A practical upgrade order
The best upgrade order is the one that fixes the repeated cause of failure. If you lose health while entering every room, more theoretical damage will not solve the run. If you survive but cannot close a boss phase, then a burst or punish upgrade deserves more attention.
Re-test after a patch or a weapon mastery change. Keep a short note about what actually triggered during a run, because a community build can assume a different unlock state, team composition or skill level from yours.
- First, choose the weapon loop you can execute without panic: ranged spacing, controlled melee, parry timing or objective control.
- Next, take the upgrade that improves the action you repeat most often, not the one with the most impressive description.
- Then add relics that reinforce the same plan. A damage relic cannot rescue a build that cannot reach a safe damage window.
- Finally, add a flexible team option such as revive safety, control or reliable co-op timing so the build still works in public matchmaking.
Weapon, relic and role synergy
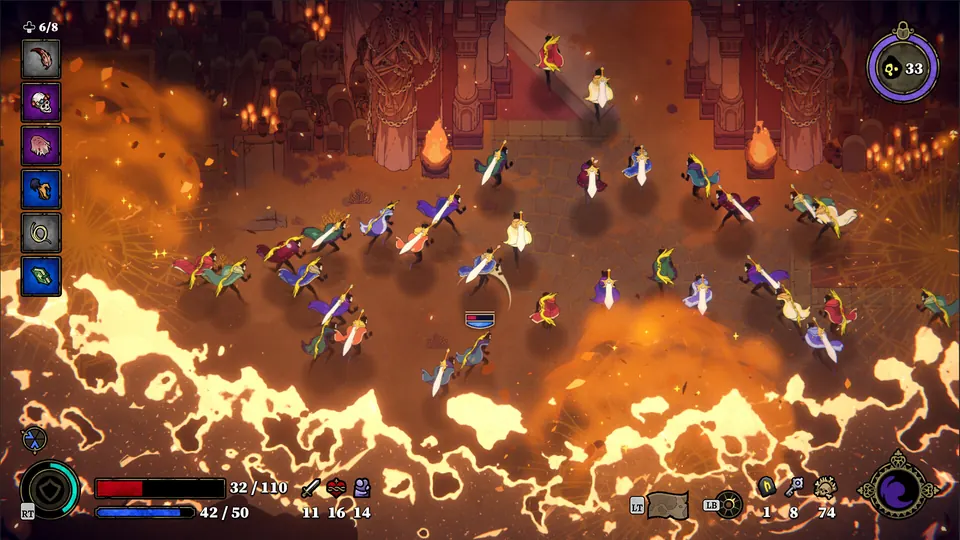
A strong build has a readable relationship between the weapon, the relic path and the job you perform for the party. Use the live game tooltip to confirm exact effects, but keep the decision logic below: the pieces should help the same action happen more often or with less risk.
This is also why a best weapon answer is incomplete on its own. The same weapon can feel excellent in a coordinated group and awkward in solo queue if its value depends on teammates standing in the right place.
| Signal during a run | Choose toward | Why it helps |
|---|---|---|
| You spend every room recovering | Defence, control and safer positioning | More uptime creates more chances to attack, revive and reach the objective. |
| The group reaches bosses but misses windows | Burst timing and punish consistency | The build turns a known opening into repeatable team damage. |
| All teammates chase damage | Control or recovery utility | One player creating room can raise the whole party's effective damage. |
| Public matchmaking changes every run | Flexible triggers and a safe fallback | Reliable value is stronger than a narrow combo that needs a fixed team. |
Common build mistakes
- Calling a build best without saying what problem it solves or what skill it assumes.
- Choosing three damage upgrades while ignoring range, recovery, control or revive safety.
- Treating an old tier list as a permanent answer after weapon mastery or relic systems change.
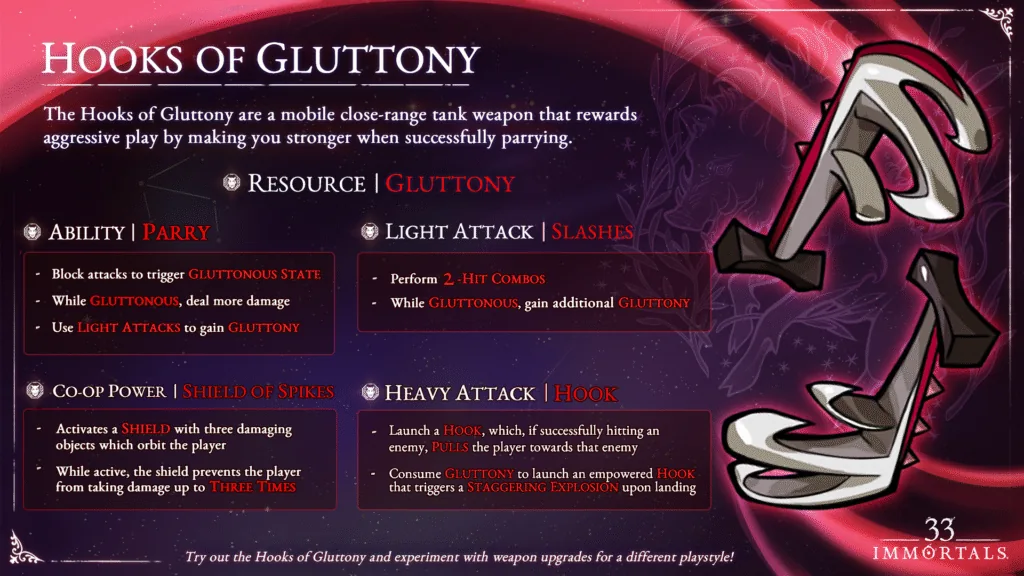
- Copying a detailed Staff of Sloth or Hooks of Gluttony route when you actually need a general weapon decision.
- Using a high-risk solo build in a public group without explaining the positioning or timing it requires.
33 Immortals builds: frequently asked questions
What is the best beginner build in 33 Immortals?
Start with a forgiving weapon and a survival or control plan. Your first goal is to stay in the fight, understand room pressure and create revive opportunities; add burst damage after that loop feels consistent.
Is there a 33 Immortals best damage build?
There can be strong damage-focused paths, but the best answer depends on weapon comfort, relic triggers, team timing and the current live tooltips. Use a reliable punish window as the test instead of assuming a static tier list is universal.
Should I build around a weapon or a class first?
Choose the action you want to repeat first, then check which class and relic choices support it. The weapons guide and classes guide are useful next steps when you need the roster-level comparison.
Are dagger, crossbow and Staff of Sloth builds covered here?
Yes, this page explains their broad roles and how to choose between them. Use the linked Staff of Sloth and Hooks of Gluttony pages for deeper single-weapon routes; do not treat this hub as a replacement for those detailed guides.
Why does my copied build feel weak?
The original build may assume a different mastery level, team composition, trigger frequency or skill level. Check which action the perk requires, then replace the least reliable piece with a safer upgrade that improves your real run loop.
Sources and boundaries
- Official Steam listing — Official game description and current store context for weapons, relics, co-op and progression.
- 33 Immortals official site — First-party overview used for the game's co-op and progression framing.
- 33 Immortals v1.0 update notes — First-party update context for current weapon, relic and mastery boundaries; verify live tooltips for exact values.
- Pride and Temperance dev diary — Official design context for ranged and controlled-melee weapon paths.