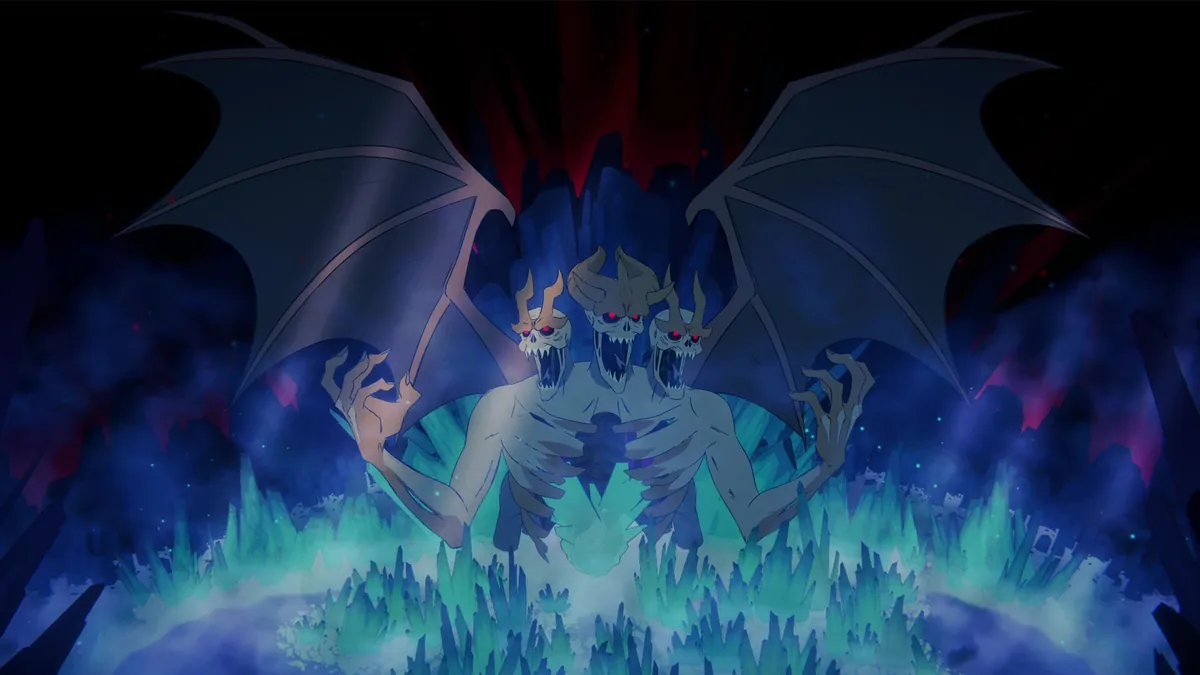
What is the best way to approach 33 Immortals bosses?
Treat a 33 Immortals boss as a raid positioning test first and a damage check second. The official game description frames the experience around large co-op runs, hordes, powers, relics, and massive bosses. That scale means a clean escape route, readable movement, and safe revives can create more real damage time than a fragile personal build.
The most reliable loop is simple: identify the next telegraph, move as a group without sealing every exit, spend damage only when the target can be hit, then reset the formation before chasing. Exact boss names, patterns, rewards, and numbers can change with the live game, so this guide focuses on decisions that remain useful across encounters instead of inventing a static roster or phase chart.
Use the map guide for realm routes, the classes and weapons guides for your kit, the co-op powers guide for shared timing, and the multiplayer guide for the wider 33-player structure. Boss preparation works best when those pages answer separate questions rather than being collapsed into one stale tier list.
Keep the raid alive and positioned before chasing damage. A boss window is valuable only when enough players can reach it, survive the return attack, and still protect the next objective or revive.
Read the boss encounter in three beats
Do not wait for a perfect database of names before learning boss fundamentals. In a crowded raid, the useful information is the next safe decision: what is telegraphed, where can the group stand, and when does the danger end? Repeat that scan every time the arena changes or the boss moves.
When a pattern is unfamiliar, spend one cycle observing rather than forcing a punish. The lost damage is usually smaller than a chain of downed players, a blocked revive path, or a split group that cannot answer the next attack.
01 / TELEGRAPH
Find the warning
Watch the boss, the arena, and nearby threat markers for the next area of danger. Move early enough that the group does not need a last-second pile-up.
02 / SPACE
Protect an exit
Choose a lane that leaves room for dodges, revives, and the next objective. Do not solve one attack by trapping everyone against an edge.
03 / PUNISH
Spend the opening
Attack after the danger resolves or when the current tooltip clearly signals vulnerability. Stop before the return pattern forces a desperate retreat.
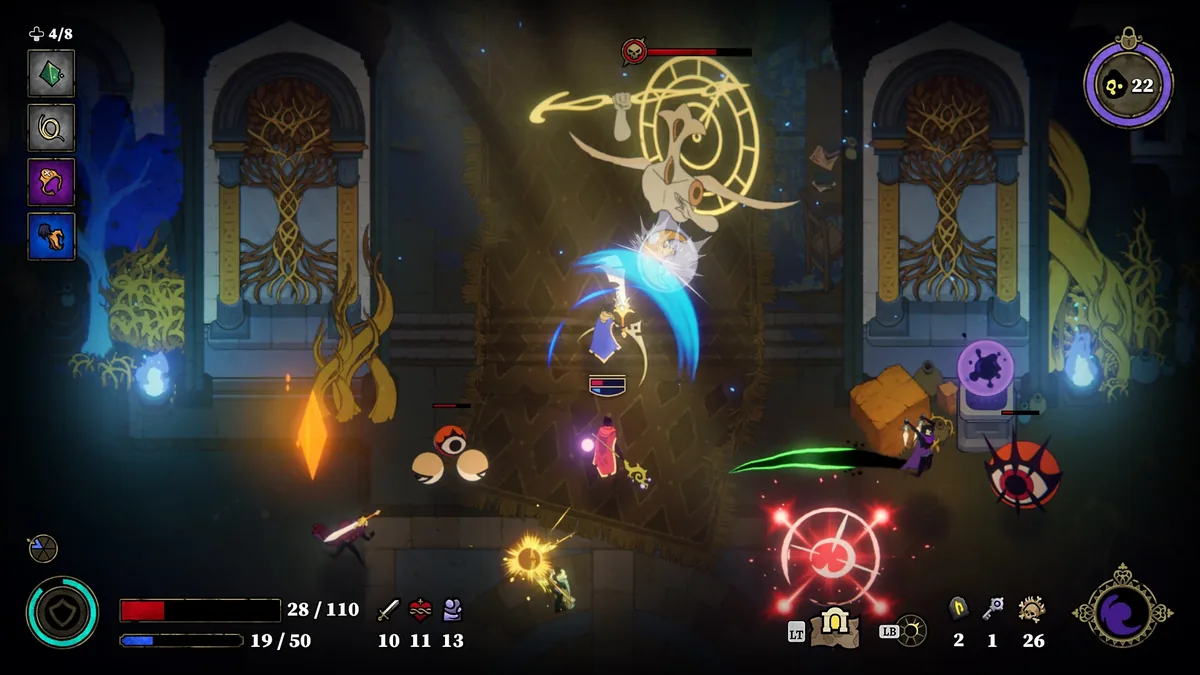
A safe 33 Immortals boss raid plan
Use this sequence for learning an encounter, public matchmaking, or a new patch. It deliberately avoids fixed boss percentages because the live client and official notes are the authority for current values.
| Moment | Focus | Action | Avoid |
|---|---|---|---|
| Before the pull | Formation and exits | Notice where the raid can regroup, where allies are likely to fall, and which lane should stay open for movement. | Do not start with everyone stacked on the first visible target. |
| First warning | Information | Move from the telegraph, watch the boss animation, and let the group learn the shape of the danger before forcing damage. | Do not burn every mobility or team resource to save a position you chose too late. |
| Vulnerability | Concentrated uptime | Use the safest available damage loop and shared power when nearby players can participate and the boss can actually be hit. | Do not chase a short opening through a damaging zone or forced movement. |
| A player goes down | Recovery | Clear or wait out the covering threat, then revive from the side with an exit. One player watches the next telegraph while another recovers the body. | Do not turn a single down into three more by reviving through an active tell. |
| After the pattern | Reset | Return to the objective, reload the formation, and identify the next failure point before spending another resource. | Do not scatter after a successful burst and lose the raid to cleanup pressure. |
Boss positioning: keep the raid readable
Large encounters become harder when every player solves movement independently. Pick a shared direction, leave a lane for the next dodge, and avoid dragging danger through the place where downed allies need to be revived. The exact safe side changes by arena and boss; the principle is to preserve options instead of claiming the whole screen as damage space.
Ranged players still need to stay connected to the raid. Distance is useful only when it preserves sightlines and response time. Melee players should enter with an exit already in mind. Control and support players get more value when they shape a route, protect a recovery moment, or stop a threat from cutting the group in half.
- Keep the next objective or regroup point visible whenever the encounter allows it.
- Move around the edge of a telegraph rather than through the center when both routes are open.
- Leave a safe approach to downed allies; a clear body is more useful than a risky instant revive.
- Use pings or obvious movement to communicate direction when a voice channel is unavailable.
- When the boss relocates, reset the formation before following instead of stretching the raid into a line.
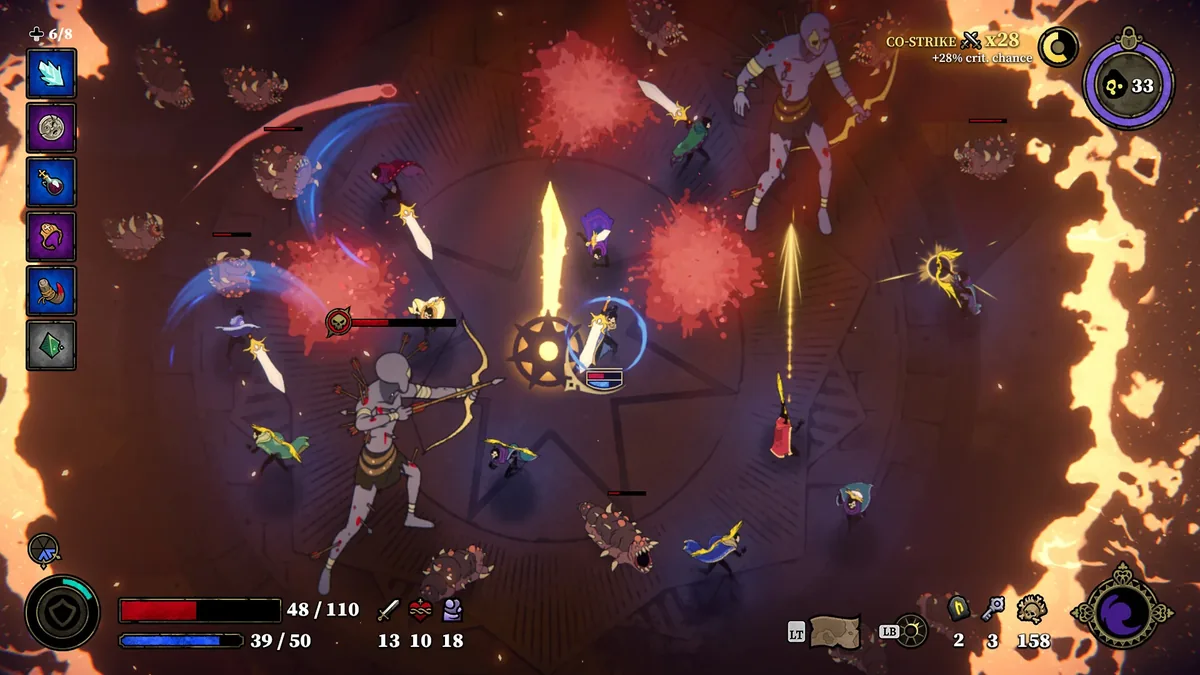
Useful roles during a boss fight
These are practical raid jobs, not permanent MMO classes. A player can change jobs between patterns, and the best composition depends on the current weapons, relics, powers, and group execution.
Anchor
Holds a readable piece of space, avoids panic movement, and gives nearby players a stable direction when the arena becomes crowded.
Priority pressure
Uses a reliable damage loop on the boss or the threat currently covering the objective, then leaves before greed closes the escape lane.
Control and utility
Creates time for a dodge, a regroup, an objective, or a revive. Control is strongest when it solves the next team problem rather than filling empty space.
Revive watcher
Tracks downed allies, waits for the attack to resolve, and protects the approach. Recovery is a damage multiplier when it prevents a cascading wipe.
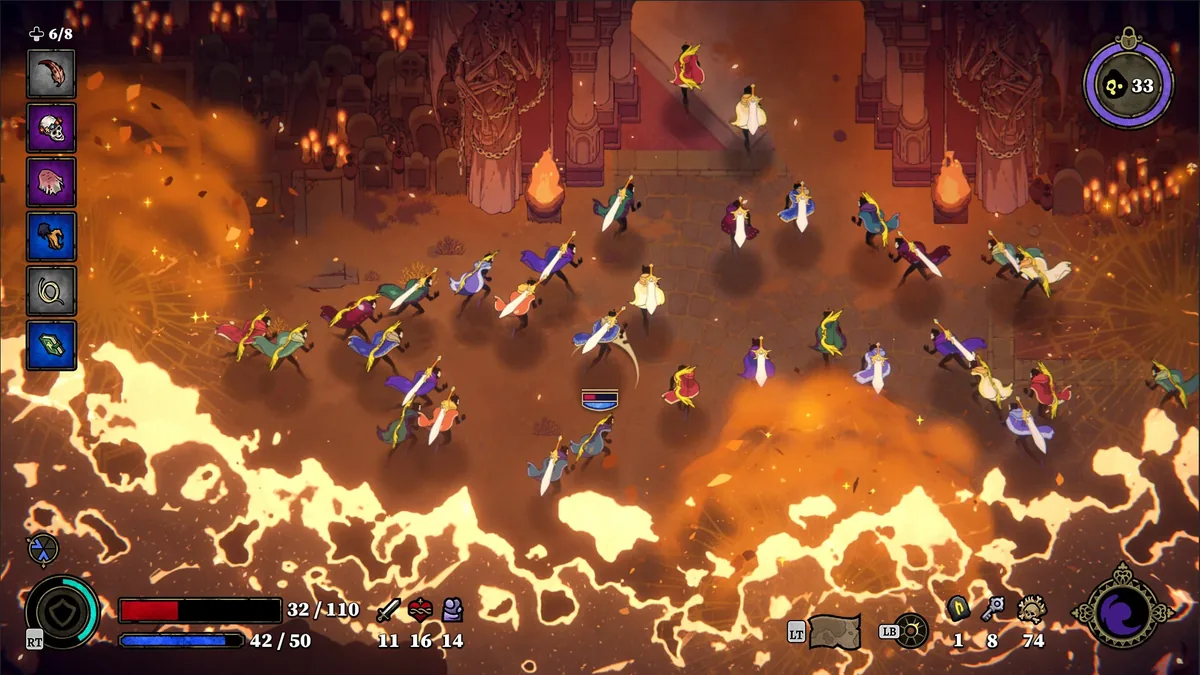
How to recover after a boss mistake
A missed dodge is not automatically a wipe. The recovery decision is more important than the mistake: stop adding bodies to the danger zone, identify whether the boss is still attacking, and move the surviving group into a place where the next response is visible. If the arena is unsafe, wait for the pattern to finish instead of treating the revive button as a command.
When several players are down, prioritize a safe chain rather than a heroic sprint. Clear the covering threat, revive the player who can help stabilize the lane, and let the group rebuild before returning to damage. Check the current co-op power and Empathy guidance when your team repeatedly collapses during recovery.
The first successful revive should create a safer formation, not restart the same failed position. Move the body, the watcher, or the fight if the original lane is still covered.
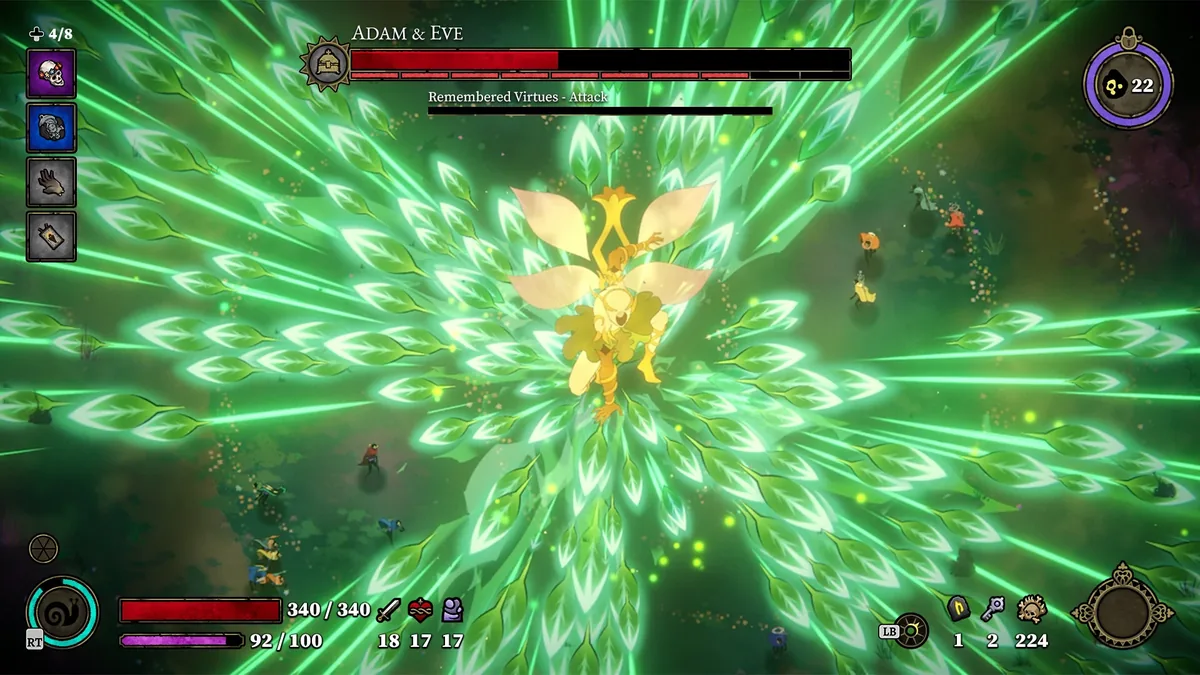
Build and progression choices for boss attempts
Do not turn this guide into a permanent boss tier list. Choose a weapon whose attack loop you can perform while watching the arena, then use relics, powers, and permanent upgrades to solve the failure that actually ends your runs. A smaller, repeatable bonus is usually more useful than a dramatic effect that requires the whole raid to stand in a dangerous place.
Before a serious attempt, review the current in-game tooltip for damage, cooldown, charge, range, and trigger conditions. Use the classes guide for role fit and the weapons or build pages for kit-specific decisions. If an official update changes an enemy, realm, power, or progression rule, retest the plan rather than copying old numbers.
- Choose survival or recovery when normal rooms already cost too many players.
- Choose reliable boss uptime after the raid can reach the encounter with a stable formation.
- Save a shared power for a meaningful horde, revive, objective, or confirmed boss window when the current tooltip supports that choice.
- Use relic paths that reinforce the weapon loop instead of splitting resources between unrelated conditions.
- Retest after updates; this page explains encounter decisions, not immutable live values.
Common 33 Immortals boss mistakes
- Treating every boss encounter as a personal DPS test and ignoring the raid's movement lane.
- Using a short damage window while the boss is relocating, invulnerable, or about to cover the exit.
- Stacking the entire group on one safe-looking point until the next telegraph removes every escape route.
- Reviving through an active attack instead of waiting, clearing, or approaching from a safer side.
- Assuming ranged distance is automatically safe when it separates the player from objectives and revives.
- Copying old boss names, phases, rewards, or exact numbers without checking the current game and official notes.
33 Immortals bosses FAQ
How do you beat bosses in 33 Immortals?
Read the next telegraph, preserve an escape lane, move with the raid, and spend damage only during a safe opening. Protecting revives and regrouping after a pattern is usually more reliable than chasing maximum personal damage.
What should I do first when learning a boss?
Use the first cycle to learn the warning, the area it removes, and where the group can stand afterward. Once that movement is consistent, add damage and shared powers to the opening.
Is there a complete 33 Immortals boss list here?
No. Boss names, encounter details, rewards, and phase behavior can change with the live game. This page intentionally focuses on raid decisions and links to official sources instead of presenting an unverified static roster.
Should I save Co-op Powers for a boss?
Save one when the current power actually helps the group reach a meaningful boss, revive, or objective window. A full meter is not automatically a safe cast; check the live tooltip and keep nearby players in position.
Which class is best for 33 Immortals bosses?
There is no permanent best class for every encounter. Fighter is a dependable default, Hunter rewards awareness and aim, Tank can protect space, and Specialist can stabilize a raid through utility. Choose the role you can execute while reading the arena.
Is this an official Thunder Lotus boss guide?
No. 33immortals.blog is an independent fan-made guide. The official Steam listing, Thunder Lotus FAQ, and update notes are linked as the authority for current game facts and changes.
Sources and evidence boundary
- Official 33 Immortals Steam listing — First-party store page checked August 4, 2026 for the game description and the official screenshots used on this page.
- Thunder Lotus 33 Immortals FAQ — First-party source for the large-scale co-op structure and current official context.
- Thunder Lotus 33 Immortals v1.0 update notes — First-party source checked August 4, 2026 for the boundary around patch-sensitive systems and live values.