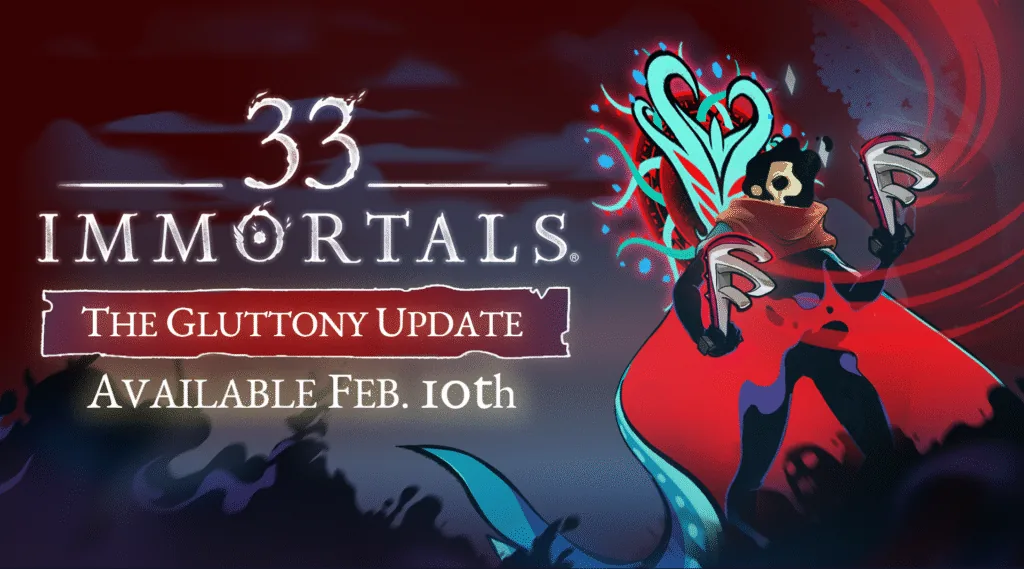
Quick answer: the safest Hooks of Gluttony build
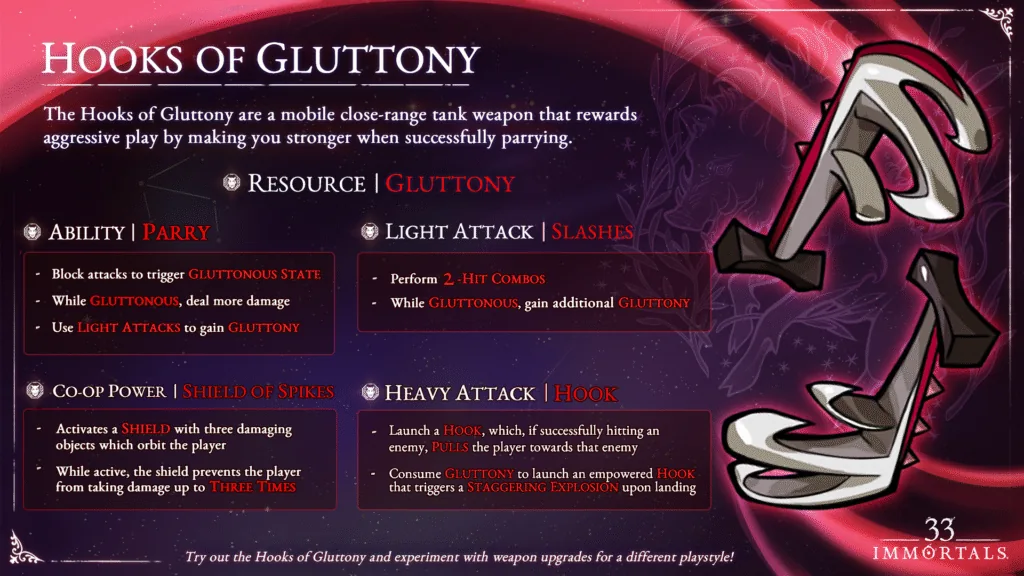
The most reliable Hooks of Gluttony build is an aggressive tank setup, not a pure glass-cannon damage build. The weapon rewards successful parries with Gluttonous State, then converts that state into stronger light attacks, extra Gluttony generation, empowered heavy hooks, and safer pressure at close range. Your build should therefore improve three things in order: reliable parry access, useful Gluttonous uptime, and survival while you remain near dangerous enemies.
Do not lock yourself to one named relic list. 33 Immortals reward pools and balance values can change, and a run may not offer the same choices. Use a functional priority system instead: first choose effects that support frequent attacks or resource generation, then durability and recovery, then co-op or stagger value, and finally conditional damage that you can trigger consistently. This approach stays useful across normal rooms, Ordeals, and boss encounters.
A damage option is only an upgrade when you can remain in range long enough to use it. If failed parries or poor positioning are ending your attack windows, take safety and consistency before more damage.
Hooks of Gluttony upgrade and relic priorities
Use this table when the exact upgrade names differ between runs. It ranks effects by how directly they support the weapon's real combat loop.
| Priority | What to choose | Why it fits |
|---|---|---|
| 1 | Reliable resource gain and attack uptime | More consistent light-attack strings help rebuild Gluttony and reduce dead time between empowered actions. |
| 2 | Damage reduction, shields, healing, or recovery | The Hooks operate near enemy attacks. Defensive value protects the close-range uptime that makes the build work. |
| 3 | Stagger, area pressure, and co-op utility | The empowered hook and Shield of Spikes can create space for allies, revives, and focused damage. |
| 4 | Repeatable damage multipliers | Choose bonuses tied to actions you perform often rather than rare conditions or perfect-room assumptions. |
| 5 | Boss-compatible single-target value | Room-clearing effects are useful, but the final build still needs damage and survival against targets that cannot be controlled easily. |
Recommended Hooks of Gluttony build order
Build in layers. Each stage fixes a different failure point, so the run remains playable even when the perfect reward never appears.
Stabilize the core loop
Take a dependable early upgrade that improves light-attack uptime, Gluttony generation, or the frequency of useful actions. The goal is to enter Gluttonous State without forcing reckless parries.
Buy close-range safety
Add durability, a shield, recovery, or damage reduction before stacking fragile multipliers. This gives you time to learn enemy timing and finish two-hit light combinations.
Add stagger and team value
Choose effects that improve empowered hooks, area pressure, revives, or shared survivability. Finish with boss damage that works even when enemies resist displacement.
How to play the Hooks of Gluttony build
Start each encounter by reading one or two enemy attack patterns instead of immediately holding the center of the pack. A successful parry is valuable because it triggers Gluttonous State, but a guessed parry can cost more health than the following damage window is worth. Use predictable enemies or clearly telegraphed attacks to start the loop, then spend the empowered window on targets the raid is already pressuring.
Light attacks are not filler. The official weapon overview describes two-hit combinations and additional Gluttony gain while Gluttonous. Keep your sequence deliberate: parry a readable attack, land safe light attacks, reposition before the next telegraph, and use the heavy hook when pulling yourself toward the target will not place you inside overlapping hazards. When enough Gluttony is available, the empowered hook adds a staggering explosion, making it a strong tool for interrupting pressure or opening a team damage window.
- Parry clear attacks, not every attack. Consistency is more valuable than gambling on an unclear animation.
- Use short light-attack strings and move between them instead of committing to long stationary pressure.
- Treat the heavy hook as both movement and commitment; check the landing area before pulling toward an enemy.
- Use Shield of Spikes when the group can benefit from the protected window, especially during dense pressure or a revive attempt.
- Against bosses, prioritize safe Gluttonous uptime and repeatable damage rather than relying on displacement or room-control effects.
How the Hooks of Gluttony mechanics work
Thunder Lotus describes the Hooks as a mobile close-range tank weapon. Its resource is Gluttony. Blocking attacks through the parry ability triggers Gluttonous State; while Gluttonous, the player deals more damage and gains additional resource from light attacks. The heavy attack launches a hook that pulls the player toward an enemy, and consuming Gluttony empowers that hook with a staggering explosion on arrival.
The co-op power, Shield of Spikes, creates a shield with three damaging orbiting objects. The official overview says the shield can prevent damage up to three times while active. In practice, that means the build has a reason to value both personal timing and team timing: activating the power when no threat is present wastes protection, while using it during a crowded objective, revive, or boss sequence can preserve several players' uptime.
Positioning in 33-player battles
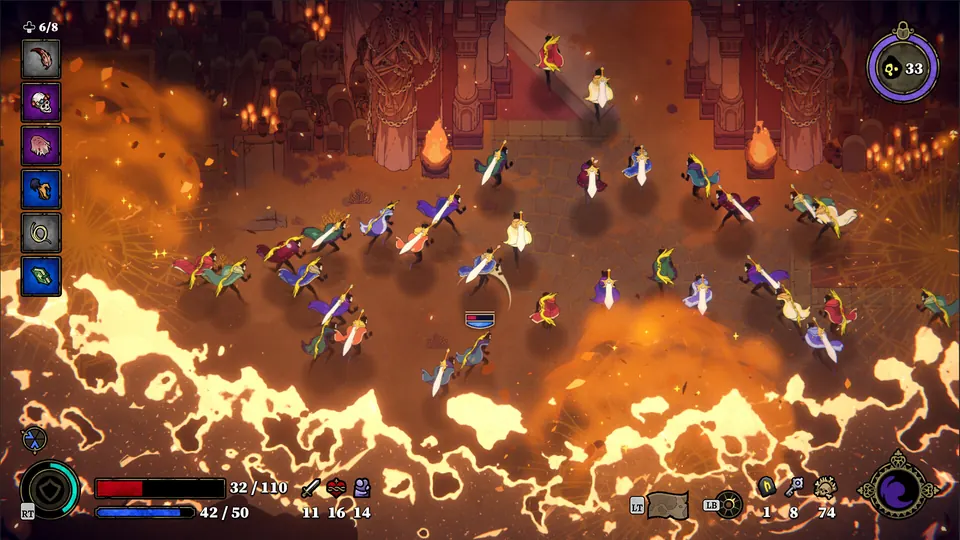
The Hooks are mobile, but mobility does not mean diving into the largest enemy cluster alone. Enter from the edge of the raid's pressure, keep an escape lane visible, and avoid pulling through hazards that another player has already forced onto the ground. In crowded rooms, your best target is often a dangerous enemy near the group rather than an isolated enemy far away. This keeps Shield of Spikes, staggers, and revive coverage useful to teammates. The gameplay image below shows why spacing matters: many players, enemies, effects, and objective lanes can overlap at once, so a strong Hooks player must read the whole room instead of staring only at the parry target.
Best co-op role and team synergies
The Hooks work as a front-line pressure and protection weapon. They are strongest when the raid can convert your stagger, shield, and target access into coordinated damage.
- Stay near damage-focused allies who benefit from a staggered target but do not want to take first contact.
- Coordinate Shield of Spikes with revives, objective interactions, dense projectile sequences, or a planned boss burst window.
- Use the hook to reconnect with the group or a marked priority target, not to abandon the raid for a low-value enemy.
- Pair defensive choices with enough boss damage so the build contributes after room control becomes less important.
- If another durable player already controls the front line, attack from a side angle and save the shield for the next dangerous sequence.
Common Hooks of Gluttony build mistakes
- Building only damage and discovering that one missed parry removes the entire attack window.
- Trying to parry unclear multi-hit patterns instead of choosing one predictable trigger for Gluttonous State.
- Using the heavy hook without checking the destination, then arriving inside an area attack or away from support.
- Spending Shield of Spikes during low pressure instead of saving it for a revive, objective, or dangerous boss pattern.
- Choosing rare conditional bonuses that look powerful but do not activate during normal play.
- Copying an old loadout without checking current tooltips, patch notes, or the rewards actually offered in the run.
Sources and verification
- Thunder Lotus Gluttony Update dev diary - Official weapon design context and first-party images used on this page.
- Thunder Lotus Gluttony Update notes - Official update notes confirming the weapon and update release.
- 33 Immortals on Steam - Official store information and current game availability.