
Quick answer: what should this build do?
The strongest practical Staff of Sloth plan is a control-first build. Use its pressure and slow-oriented identity to keep enemies manageable, protect objective space, and give the raid safer attack and revive windows.
Because live balance and reward choices can change, prioritize effects by function rather than memorizing one exact relic list: reliable repeated-hit value, crowd control uptime, survivability, and benefits that remain useful during bosses.
Choose the option that solves the current run problem. Damage is useful, but an extra damage choice is not better if the group is losing space, revives, or uptime.
Staff of Sloth upgrade and relic priorities
Use this order as a decision framework when exact choices differ between runs.
| Priority | What to choose | Why it fits |
|---|---|---|
| 1 | Control uptime and repeated-hit effects | Keeps pressure consistent and rewards the staff play pattern. |
| 2 | Survivability and recovery | Lets you hold useful positions without becoming a revive burden. |
| 3 | Objective and team utility | Creates safer space for allies, revives, and coordinated damage. |
| 4 | Boss-compatible damage | Prevents a control build from becoming irrelevant against single targets. |
Recommended build order
Build the run in layers instead of forcing a perfect item checklist.
Stabilize the weapon loop
Take reliable upgrades that make repeated attacks and control easier to maintain.
Add safety and utility
Choose durability, recovery, or team value before stacking conditional damage.
Patch the boss matchup
Finish with damage or uptime that still works when control has less impact.
How to play the build
Staff of Sloth works best when you shape the fight before the room becomes chaotic. Stay close enough to help the group, but avoid standing inside the densest melee pile.
- Aim through groups or priority lanes instead of chasing isolated enemies.
- Use control to open revive paths and protect objective interactions.
- Move before danger lands; do not treat control as invulnerability.
- Save risky damage windows for moments created by the team.
Positioning and encounter flow
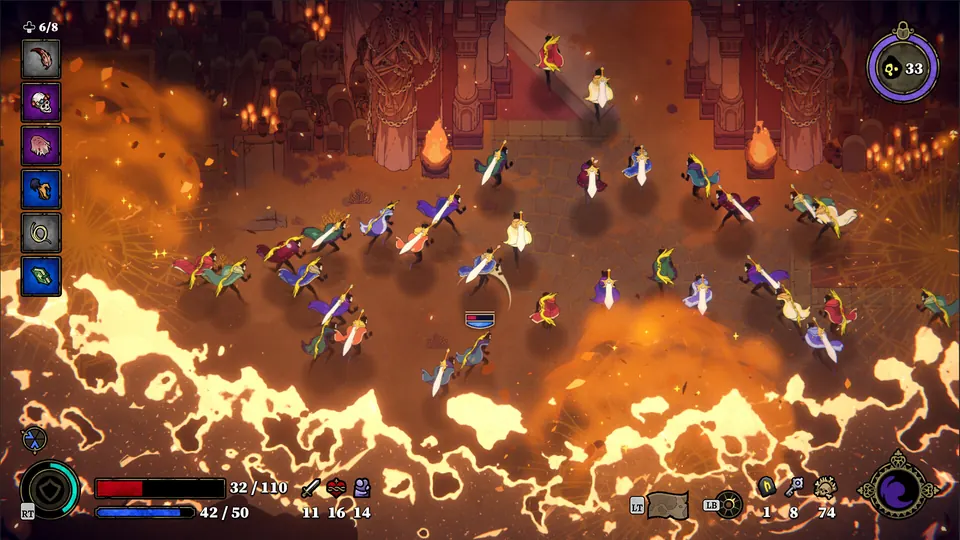
The staff is valuable when the raid can convert control into safer damage. Read the official gameplay image below as a positioning reminder: keep a usable lane, watch the group, and avoid blocking your own escape route.
Best team role and synergies
This build supports players who can exploit the time and space you create.
- Pair with burst weapons that benefit from grouped or slowed targets.
- Stay near revive-minded teammates and communicate dangerous elite targets.
- Let durable front-line players take first contact while you maintain pressure.
- Against bosses, shift from room control toward safe uptime and team survival.
Common build mistakes
- Stacking only damage and losing the control identity that makes the staff useful.
- Taking highly conditional effects without a reliable way to trigger them.
- Standing still because enemies are slowed. Telegraphs and boss attacks still matter.
- Treating one community loadout as permanent meta after balance changes.
Sources and verification
- 33 Immortals official site - Official game overview and current first-party information.
- 33 Immortals on Steam - Official store description and media reference.