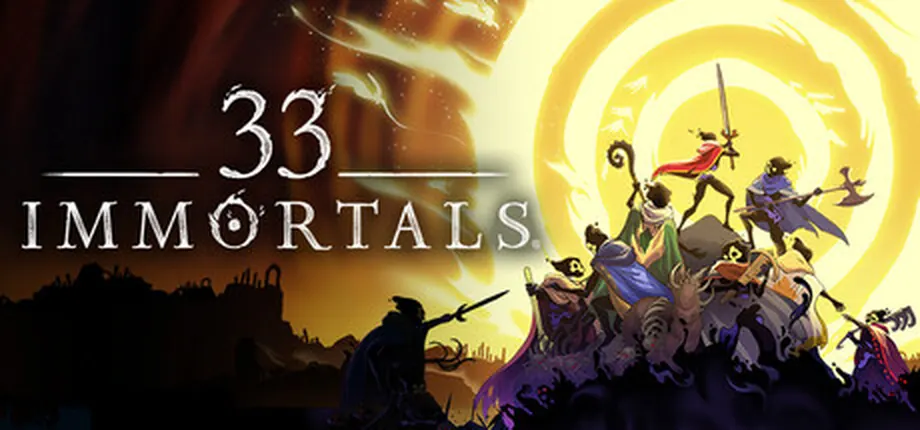
Quick answer: Co-op Powers turn team timing into a shared attack window
The useful way to read 33 Immortals co-op powers is not as a second solo damage button. They are a team-facing layer: players build toward a coordinated effect, identify the right target or objective, then spend the window when allies can actually benefit. The exact charge rule and effect can depend on the current power, weapon, or patch, so the in-game tooltip remains the authority for numbers.
A good Co-op Power decision has three parts. First, keep the group close enough that the intended players can participate. Second, wait for a meaningful moment such as a dense horde, a rescue opening, or a boss vulnerability. Third, let the team return to its normal weapon and revive plan after the effect resolves. If a power makes everyone stand in a dangerous place, it is not automatically worth pressing just because the meter is ready.
This page separates Co-op Powers from the nearby topics already covered on this site. The multiplayer guide explains who is in the run, the weapons guide explains each kit, the relics guide explains relic paths, and the Empathy guide explains support-oriented choices. Co-op Powers connect those decisions without replacing any of them.
Charge the power through useful play, call the window with a ping or clear movement, and spend it when the team is already moving toward the same problem. Ready is not the same as safe.
How the 33 Immortals co-op power loop works
Think of a Co-op Power as a short coordination loop rather than a permanent buff. The labels and exact values can move with patches, but this decision sequence stays useful.
Build the charge
Keep fighting, helping, and following the current objective instead of farming a meter in a dangerous corner. Read the current tooltip for what actually generates charge.
Name the problem
Decide whether the run needs horde clearing, space for a revive, a boss burst window, or a safer regroup. A power has more value when it answers a visible problem.
Trigger together
Use pings, movement, or a short call so nearby allies know the window is beginning. Avoid firing early when the intended group is still crossing the arena.
Reset the formation
After the effect, return to the next objective, keep revive paths open, and do not chase the last enemy into a bad position just because the team had a successful burst.
Editorial flow: build the resource through active play, recognize the shared problem, trigger the Co-Strike in a safe window, then return to normal positioning and revive discipline.
What should the team coordinate before using a Co-op Power?
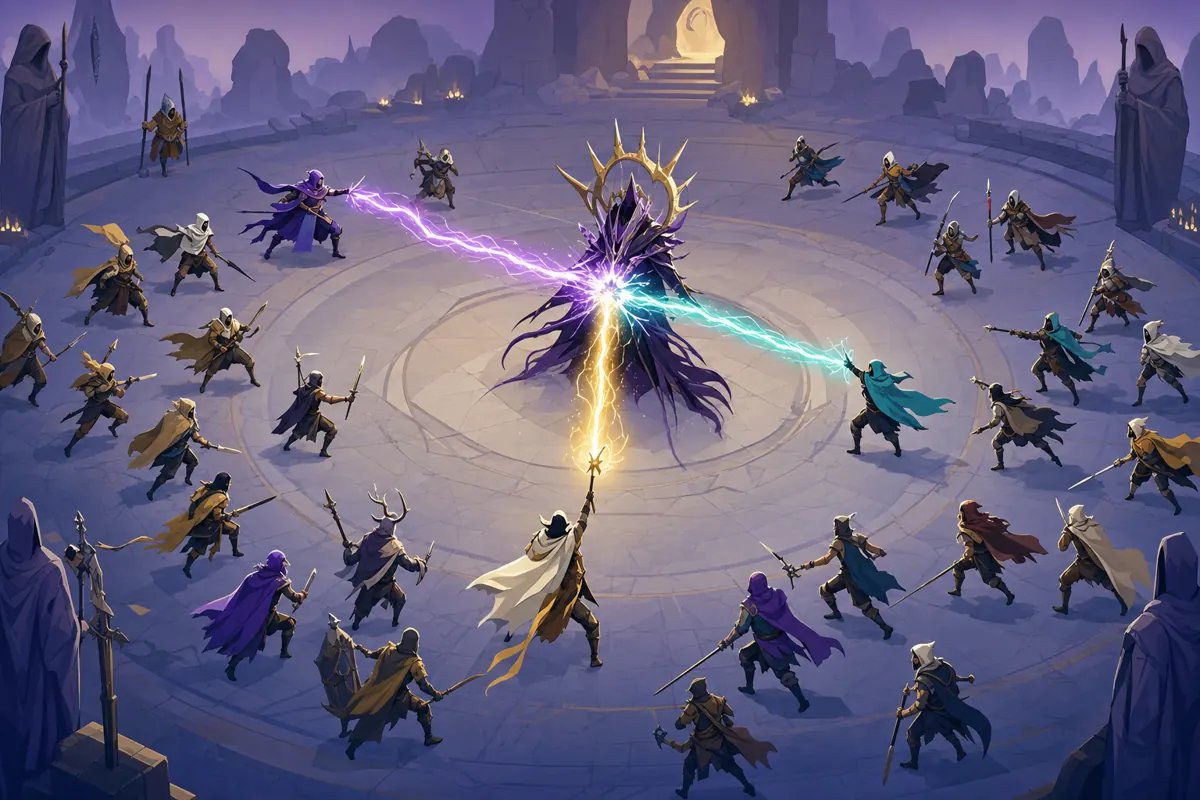
The first question is not “is this power strong?” but “which players can make it matter right now?” A public raid rarely shares one voice channel, so the clearest signals are practical: follow the ping, move toward the same elite, stop splitting the lane, or hold a revive until the danger passes. Co-op Powers reward readable movement more than complicated callouts.
The second question is whether the group has enough space. A combined strike that clears a horde is useful when the horde is actually blocking the route. A rescue-oriented effect is useful when allies are down and the approach is safe. A boss window is worth saving only when the arena, objective, and nearby players all point toward the same target. Do not spend the team resource to make a scattered fight look organized for one second.
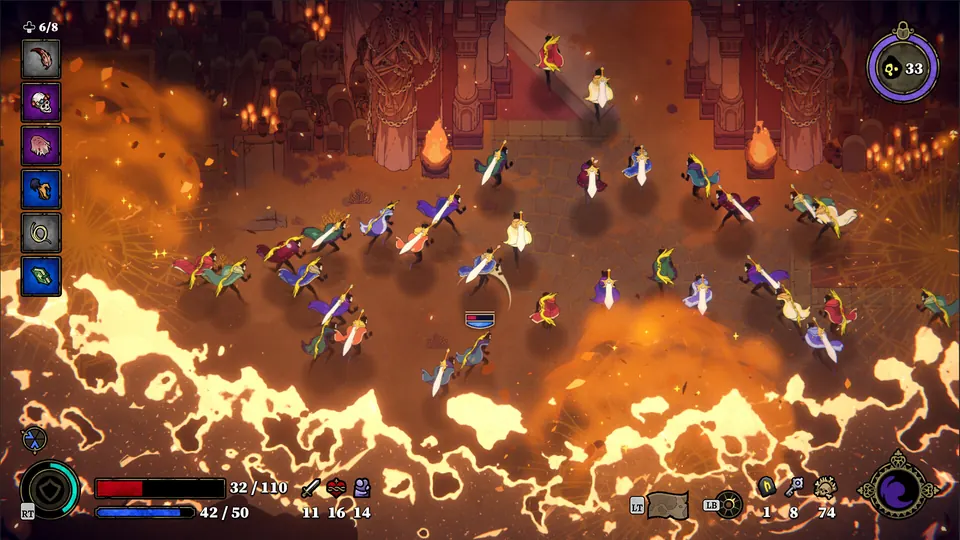
The official game materials emphasize large-scale cooperation, powers, weapons, relics, pings, and emotes. That makes Co-op Powers a communication problem as much as a build problem. The screenshot below is real gameplay context, while the precise power behavior still belongs to the current in-game description and official patch notes.
When to trigger a 33 Immortals co-op power
Use this table as a practical decision aid, not as a permanent tier list. The best trigger is the one that solves the run's next failure point without forcing the team into a worse position.
| Situation | Best move | Avoid overcommitting |
|---|---|---|
| A dense horde blocks the route | Ping the shared lane, let nearby players collapse, then use the power to open space and continue toward the objective. | Do not chase stragglers away from the group after the route is already clear. |
| Several allies are down | Stabilize first. Use the power only if it creates a real revive window or removes the threat covering the bodies. | Do not revive in a damaging telegraph merely because the meter is full. |
| A boss exposes a clear weakness | Hold the effect until the team is in range and the objective is not about to force a move. | Do not spend the window on a boss that is invulnerable, relocating, or about to punish stacking. |
| The raid is split across objectives | Use the power locally only when the local group can finish a priority task; otherwise regroup before spending it. | Do not assume a global-looking effect reaches every player on the map. |
| The team is already safe | Keep the charge for the next meaningful pressure point if the current tooltip does not reward immediate use. | Do not press on cooldown just to avoid seeing a full meter. |
How Co-op Powers fit weapons, roles, relics, and Empathy
A Co-op Power is the coordination layer. The surrounding build decides whether the team can reach the window, survive it, and use the opening afterward.
Weapons create the opening
A weapon with comfortable range, control, or safe positioning can help the group charge and arrive at the trigger window without losing players. Start with the weapons guide when the problem is kit execution, not power timing.
Roles keep the window readable
An anchor holds space, a revive watcher protects recovery, a pressure player handles priority threats, and a flexible player keeps objectives moving. These roles are guidance, not locked classes.
Relics amplify a plan
Choose relics that support the problem you expect to solve. A Duo Relic can reward coordination, but it should not force two players into a trigger they cannot repeat safely.
Empathy supports the aftermath
Support-oriented choices can make revives and recovery safer, but Empathy is not a substitute for a well-timed Co-op Power. Link both guides when the run keeps collapsing after the first burst.
Common co-op power mistakes
- Using the power alone when the effect is meant to reward nearby allies.
- Waiting for a perfect 33-player formation instead of using a clear local window.
- Spending during a boss transition, invulnerability phase, or forced movement.
- Treating a full meter as an instruction to press immediately.
- Letting the burst pull the team away from a revive, objective, or safe regroup point.
- Repeating a community value after a patch without checking the current in-game tooltip.
Official facts, patch-sensitive details, and the safe reading
Thunder Lotus' official 33 Immortals materials describe a 33-player co-op action roguelike with powers, weapons, relics, permanent progression, pings, emotes, hordes, and bosses. The v1.0 update notes also discuss changes to how Co-op Powers are obtained, charged, and improved. Those sources support the existence and direction of the system, not a promise that every number or trigger remains unchanged.
For a live run, trust the current tooltip for charge generation, cooldown, range, cost, target rules, and any weapon-specific exception. If a build guide, community post, or old screenshot disagrees with the game, treat the old material as a lead and the current client as the final check.
This page intentionally avoids inventing a universal damage ranking. Co-op Powers are most valuable when they make the next team decision easier: clear the lane, protect the revive, reach the boss window, or regroup before the raid loses too many players.
Sources checked
- Thunder Lotus 33 Immortals v1.0 update notes - First-party source checked on August 1, 2026 for the current Co-op Powers direction and patch-sensitive boundaries.
- Thunder Lotus 33 Immortals FAQ - First-party source for the large-scale co-op structure and official game context.
- Official Steam listing - First-party store context for powers, weapons, relics, screenshots, pings, emotes, and 33-player co-op.