Quick Answer: The Optimal Sword of Justice Loop in 33 Immortals
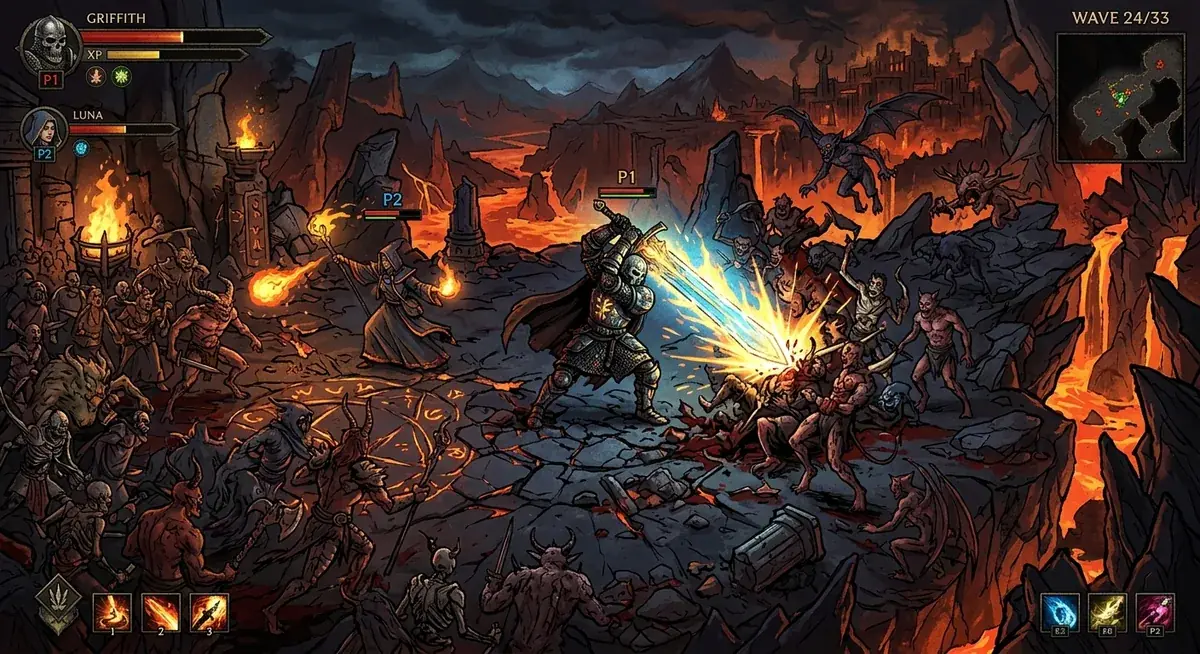
The Sword of Justice is the quintessential frontline weapon for the Fighter class in 33 Immortals, bridging high sustained cleave damage with defensive raid utility. Unlike fragile glass-cannon builds that collapse under mob density, an optimized Sword of Justice build leverages wide horizontal slashes, reliable dash-cancels, and holy stagger multipliers to dictate the pace of every battle chamber.
To extract maximum value in 33-player co-op matches, your priority is establishing aggressive frontline presence without overextending beyond healer and support sightlines. Prioritize upgrades that expand your heavy attack arc, reduce dash stamina costs, and infuse basic slash finishers with radiant burst damage. Relics that grant temporary defensive barriers on kill or boost damage against staggered elite monsters form the cornerstone of your survival.
In boss arenas like Lucifer and Adam & Eve, the Sword of Justice transitions from mob clearer to premier stagger contributor. Chaining charged horizontal sweeps into heavy overhead cleaves chips through boss poise bars, creating the vulnerable windows your entire 33-player team needs to burst down phase thresholds.
Never greed the third light attack animation when an elite telegraphed circle appears. Dash-canceling out of your second swing resets your spacing instantly, keeping your DPS uptime high while avoiding fatal ground hazards.
Stat, Upgrade & Relic Priorities for Sword of Justice
Building the Sword of Justice requires balancing raw kinetic damage with raid resilience. Because you operate squarely in melee hazard zones, pure offensive stacking without damage reduction or stagger resistance leads to frequent knockdowns that burden team revives.
| Upgrade Category | Optimal Pick / Focus | Strategic Value in 33-Player Raids |
|---|---|---|
| Primary Weapon Mastery | Extended Cleave Arc & Stagger Impact | Expands the hit cone of basic and charged attacks, allowing you to control packed clusters of Tortured Souls while multiplying poise damage against elite minibosses. |
| Secondary Skill Mod | Radiant Shockwave / Heavy Cleave Blast | Converts your charged heavy attack into a forward-piercing holy projectile that damages distant archers and marks priority enemies for team focus. |
| Core Relic 1 (Defense) | Worn Scapular / Aegis of the Penitent | Provides incoming damage reduction and a brief invulnerability barrier when health drops below 30%, preventing one-shot deaths during chaotic horde spikes. |
| Core Relic 2 (Offense) | Blade of Righteous Fervor | Grants stacking melee attack speed and physical power for each consecutive strike landed within three seconds, dramatically increasing sustained boss DPS. |
| Core Relic 3 (Utility) | Censer of Radiant Will / Revive Anchor | Accelerates team revive speed by 25% and generates a holy sanctuary dome that absorbs hostile projectiles while resurrecting fallen immortals. |
| Mobility & Stamina | Stamina Recovery Rate & Dash Refund on Stagger | Guarantees you always retain sufficient stamina reserves to reposition out of boss wipe mechanics and maintain 100% combat uptime. |
Recommended Three-Stage Build Progression Order
Raid chambers test your build at different escalation points. Follow this three-stage upgrade roadmap during your ascent through the circles of the underworld.
Early Chambers: Clearing Crowds & Establishing Cleave
During the opening chambers, focus exclusively on wide-angle basic attack upgrades and flat health increases. Do not spend precious underworld obols on niche burst relics until your horizontal sweep can cleanly one-shot standard skeletal swarms. Secure at least one stamina regeneration perk to ensure smooth dodge-rolling between enemy attack telegraphs.
Mid Ascent: Elite Poise Breaking & Survivability
As Hellhounds and armored Sentinels begin spawning, transition your build into heavy attack charge acceleration and stagger amplifiers. Integrate defensive relics like Worn Scapular or health-on-stagger procs. This ensures you can hold choke points solo while backline Crossbows of Pride and Staff of Sloth casters operate unmolested.
Late Raid & Boss Arenas: Maximum Burst & Revive Aura
Before entering major boss trials, finalize your relic suite with boss damage multipliers and team utility bonuses. Maximize your radiant shockwave damage to contribute to multi-target phase transitions, and equip revive speed enhancements so you can quickly stabilize downed comrades amidst crossfire.
Optimal Combat Combos, Rotations & Cancel Techniques
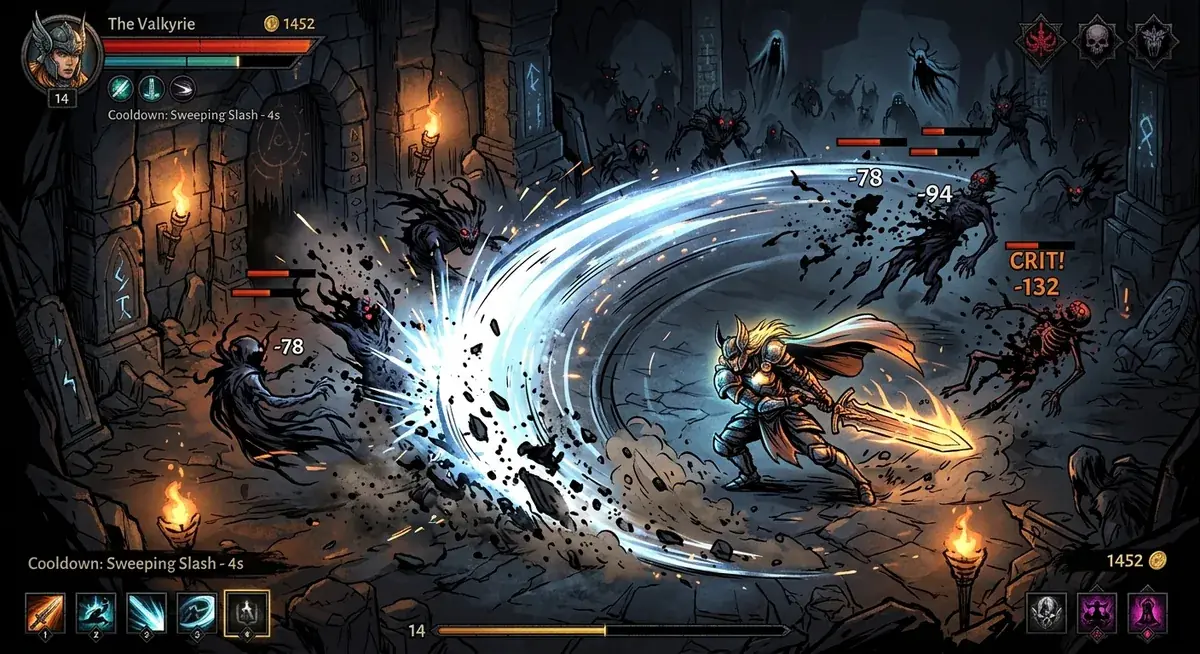
Mastering the Sword of Justice requires disciplined animation management. The weapon features a deliberate three-hit attack string: a right horizontal slash, a left backhand sweep, and a heavy downward plunge. While the third hit deals substantial burst damage, its recovery frames leave you vulnerable to flanking strikes.
In dense swarms, standard practice is executing a 'Two-Slash Dash Reset' (Light Attack -> Light Attack -> Dash -> Light Attack -> Light Attack). This infinite loop keeps your cleave arc active 100% of the time without suffering the prolonged recovery delay of the ground slam.
When confronting armored champions or bosses, initiate with a fully charged heavy thrust to strip poise shields, immediately follow with your secondary radiant shockwave, and execute two light swings before rolling behind the target's turning radius.
- Light-Light-Dash-Reset: Maximizes horde DPS while maintaining total spatial mobility.
- Charged Heavy Opener: Deals 220% poise damage to rapidly trigger staggered vulnerability states on elites.
- Dash-Strike Engagement: Closing distance with a sprint-attack immediately locks minor enemies into hit-stun.
- Holy Cleave Follow-up: Trigger your secondary cooldown immediately after an elite begins their wind-up animation to interrupt them.
Frontline Spacing, Heavy Attack Positioning & Mechanics
Positioning with the Sword of Justice is all about geometry. You are not a solitary duelist; you are the frontline wall that herds enemies into cohesive clumps. Always circle around the outer perimeter of encounter rooms, forcing mobs into tight chokepoints where your wide sweeping arc hits four to six enemies per swing. Never allow elite enemies to flank behind you where your cleave box cannot register.
Co-op Raid Value, Revive Protection & Class Synergies
In 33 Immortals, raw individual score is meaningless if the overall raid wipes. The Sword of Justice provides tremendous co-op synergy across all 33 players when played with team awareness.
- Synergy with Staff of Sloth: Casters inflict Lethargy and slow zones; Sword of Justice fighters stand directly inside those zones to shred immobilized targets safely.
- Synergy with Crossbows of Pride: Ranged allies mark high-value targets with Brand vulnerability; your high-damage heavy cleave immediately triggers the brand's secondary burst damage.
- Revive Anchor Role: Because Fighters boast elevated base health pools, you are often the only player capable of tanking stray projectiles while reviving fallen teammates in active hazard rings.
- Boss Aggro Management: Positioning yourself opposite your ranged damage dealers forces bosses to turn their backs to the raid, exposing critical hit zones to backline snipers.
Common Mistakes to Avoid with the Sword of Justice
- Tunneling on Third-Hit Finishers: Committing to the overhead slam animation when elite telegraphs light up underneath your feet is the leading cause of preventable fighter deaths.
- Neglecting Stamina Management: Emptying your entire stamina bar on offensive sprint slashes leaves zero dodges for incoming boss slam waves.
- Ignoring Downed Teammates: As a durable melee anchor, walking past downed allies to chase low-health trash mobs wastes your team's limited revive pool.
- Overextending Beyond Support Auras: Charging across the map away from healing pools and team buffs isolates you and renders support abilities useless.
- Skipping Defensive Relics: Stacking pure offensive relics might look appealing on paper, but a dead melee fighter deals zero damage.
Build Verification, Research & Sources
- Thunder Lotus Games Official Documentation - Official developer notes on Fighter class mechanics, weapon balancing, and co-op combat systems.
- 33 Immortals Steam Community Guides - Verified player testing data regarding melee poise damage, stagger values, and frame cancel timings.
- Thunder Lotus Discord & Beta Testing Feedback - Community verified relic tier evaluations and raid boss damage threshold calculations.